If you’ve been looking for a reason to start growing your own food, let this be it. Growing microgreens at home is genuinely one of the simplest, fastest, and most affordable things you can do; no garden required, no experience needed, and no complicated setup. Just seeds, a tray, some soil, and maybe a nice sunny windowsill.
With the cost of groceries climbing and economic uncertainty showing no signs of easing, growing even a small portion of your own food makes a real difference. Microgreens won’t replace your weekly shop, but they will replace a surprising chunk of it. Think fresh greens on your plate, no pesticides drama, no runs to the grocery store, and at a fraction of its price.
You in? Let’s grow!
First, What Are Microgreens?
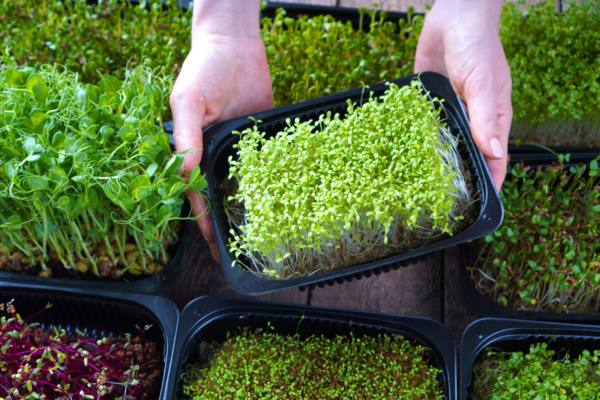
Microgreens are the young seedlings of vegetables, herbs, and leafy greens that are harvested at the cotyledon stage which means just after the first few leaves appear. They’re typically ready to eat within seven to fourteen days of planting, making them one of the fastest edible plants you can grow at home.
Despite their small size, microgreens are nutritionally dense. Studies have found them to contain higher concentrations of vitamins, minerals, and antioxidants compared to their fully mature counterparts. In short, just a handful a day goes a long way.
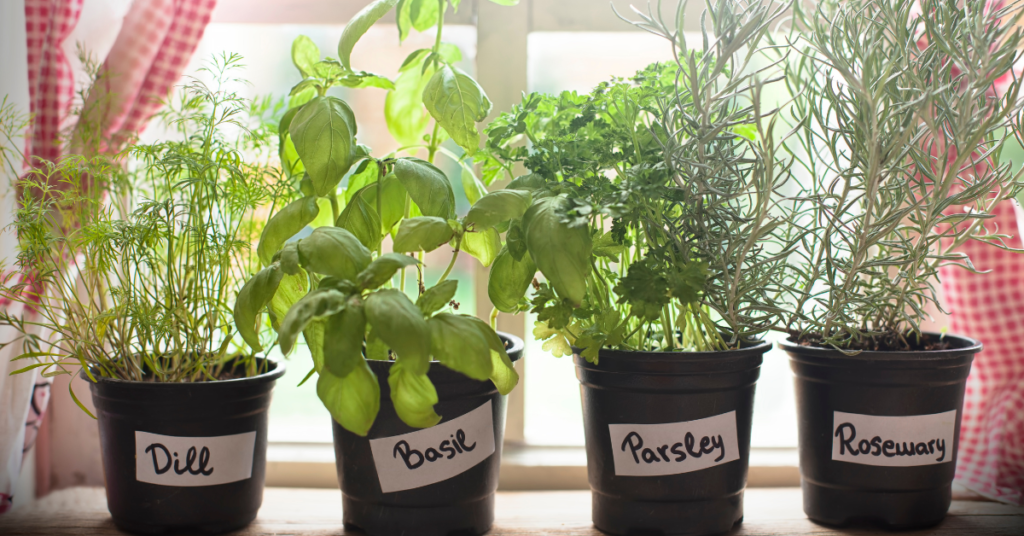
Common varieties include radish, broccoli, sunflower, pea shoots, mustard, basil, and kale. Each has a distinct flavour profile, from peppery and spicy to sweet and nutty, making them versatile additions to salads, sandwiches, smoothies, soups, and stir-fries. They taste nothing like the vegetable itself so if you don’t like broccoli, you may still like the microgreen.
Why Growing Microgreens Makes Financial Sense Right Now

Here’s the honest truth: microgreens at the supermarket are expensive. A small punnet of mixed microgreens cost between $3 to $5 for a single serving in the US or £3 to £6 in the UK. A packet of microgreens cost a fraction of that and yields multiple harvests. Basically, a gift that keeps giving.
When household budgets are stretched and the price of fresh produce keeps rising, growing microgreens at home is one of the most practical things you can do. The initial investment is minimal, the ongoing cost is close to zero, and the return is fresh greens on your plate in under two weeks. Save money, eat healthier, and live mindfully.
Okay now, lets dive in.
First, What Do You Need to Start Growing Microgreens at Home?
Microgreens Growing Supplies — The Basics
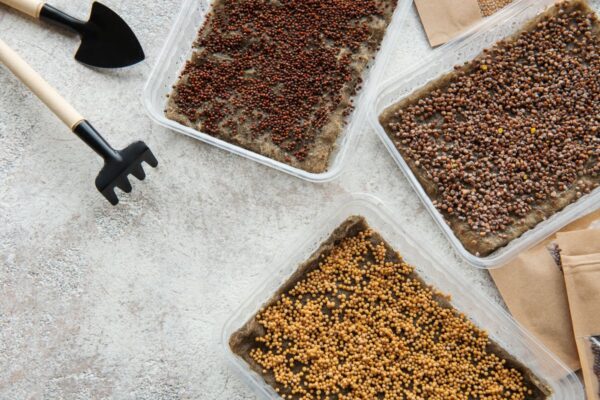
You don’t need much to get started. Here’s what a simple microgreens growing kit looks like:
- Shallow trays — two trays that fit inside each other work best (one with drainage holes, one without)
- Growing medium — potting mix, coco coir, or a purpose-made microgreens growing mat
- Seeds — choose varieties labelled for microgreen use; radish, broccoli, and pea shoots are ideal for beginners. Alternatively, purchase a pre-fixed mixed pack!
- A spray bottle — for gentle watering without disturbing seeds
- A spot with natural light — a windowsill with a few hours of indirect light is sufficient for most varieties
- To skip the individual items, you could get a microgreens growing kit from Amazon – one purchase, everything you need.
If you’re serious about growing year-round or live in a space with limited natural light, a small grow light is worth adding to your microgreens growing supplies. It doesn’t need to be expensive, basic LED grow lights are widely available online.
Should You Buy a Microgreens Growing Kit?
A microgreens growing kit bundles everything above into one purchase. Your trays, growing medium, seeds, and sometimes a spray bottle. For complete beginners, a kit removes the guesswork and gets you started immediately. Look for kits that include multiple seed varieties so you can experiment with flavours and growth rates.
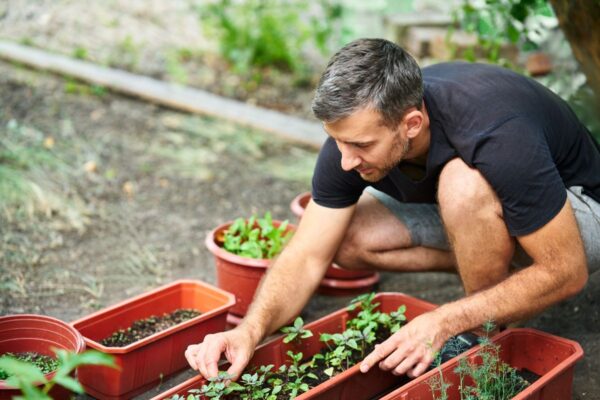
That said, building your own setup is just as effective and often cheaper. Two plastic trays from any hardware store, a bag of potting mix, and a packet of seeds is genuinely all you need. It’s also a great hands-on activity to do with kids!
How to Grow Microgreens at Home
Step 1: Buy Your Supplies
Decide what you would like to grow and visit your local garden store or just buy your microgreens online. Depending where you are, microgreens cost quite a bit in-store and are generally cheaper when purchased via sites like amazon or from wholesale nurseries. Use the checklist above to get started.
Step 2: Prepare Your Tray
Fill your drainage tray with about 3 to 4cm of moist growing medium.
Press it down lightly so the surface is level, this ensures even germination across the tray.
Step 3: Sow Your Seeds
Scatter your seeds densely and evenly across the surface of the soil. Microgreens are sown close together so don’t worry about spacing them out. Press the seeds gently into the soil with your palm so they make good contact with your soil or medium.
Step 4: Cover and Wait – the hardest part!
Place your second tray on top of your filled tray to block light and create a warm, humid environment. This is temporary as it encourages germination. Leave it undisturbed for two to three days, checking once a day to mist the seeds if the surface looks dry.
Step 5: Expose to Light
Once you see the seeds have germinated and small shoots are pushing upward, remove the cover tray and move your microgreens to a spot with indirect natural light. A windowsill facing east or west works well. Avoid harsh direct afternoon sun, which can scorch the delicate shoots.
Step 6: Water Daily and Harvest
Water your microgreens once a day by misting the surface or bottom-watering (pouring water into the outer tray and letting it absorb upward). This prevents overwatering and keeps the leaves dry, which reduces the risk of mould.
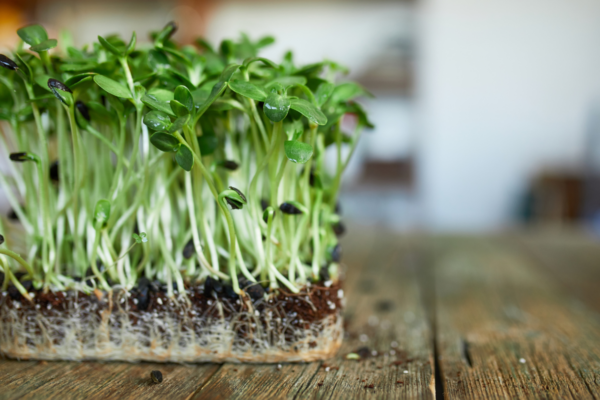
Most microgreens are ready to harvest when they reach 5 to 7cm tall and the first true leaves begin to appear. Use a clean pair of scissors to cut just above the soil line. Rinse, eat, and start your next tray.
Tips for Getting the Most From Your Microgreens
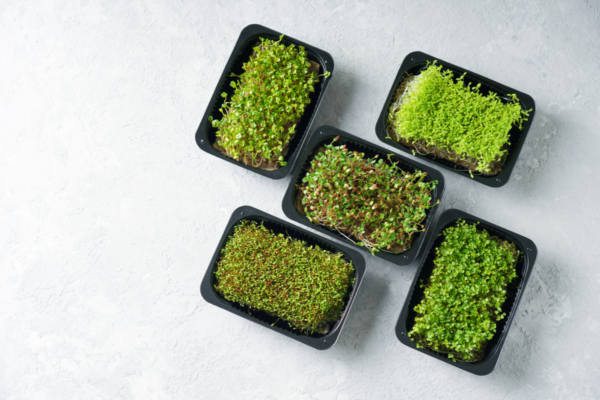
- Stagger your harvests. Start a new tray every five to seven days so you always have microgreens at different stages. By the time you’ve eaten your first batch, the next is ready.
- Start with radish or pea shoots. Both germinate quickly, grow reliably, and taste great. They’re the most forgiving varieties for first-time growers.
- Avoid overwatering. Mould is the most common problem beginners face, and it almost always comes from overwatering or poor air circulation. Bottom-watering reduces this significantly.
- Reuse your trays. Rinse with diluted white vinegar between each crop to sanitise without chemicals. Your microgreens growing supplies can last for dozens of harvests.
- Eat them fresh. Microgreens are at their best immediately after harvest. If you need to store them, keep unwashed microgreens in an airtight container in the fridge for up to five days.
Frequently Asked Questions
Most microgreens are ready to harvest in seven to fourteen days from planting. Fast varieties like radish and mustard can be ready in as little as five to seven days.
No. A shallow tray, potting mix, seeds, and a spray bottle are all you need. A microgreens growing kit bundles these together if you prefer a ready-to-go setup, but building your own is just as effective and cheaper.
Yes, a basic LED grow light replaces natural light effectively. Many people grow microgreens entirely under artificial light, especially in apartments with limited window access.
Radish, pea shoots, broccoli, and sunflower are the most beginner-friendly microgreens. All germinate quickly and grow reliably with minimal fuss.
Significantly. A single packet of seeds (enough for multiple trays) costs the equivalent of one or two punnets of store-bought microgreens. The savings become substantial very quickly.
Microgreens should be eating raw. They’re delicate shoots that are nutrient dense, cooking them would reduce or remove its vitamins and change its texture to something soft and soggy. To enjoy your microgreens, harvest them and sprinkle them on top of salads, in sandwiches, or as garnish on your pasta, roasts, dips, and other dishes for a healthy crunch!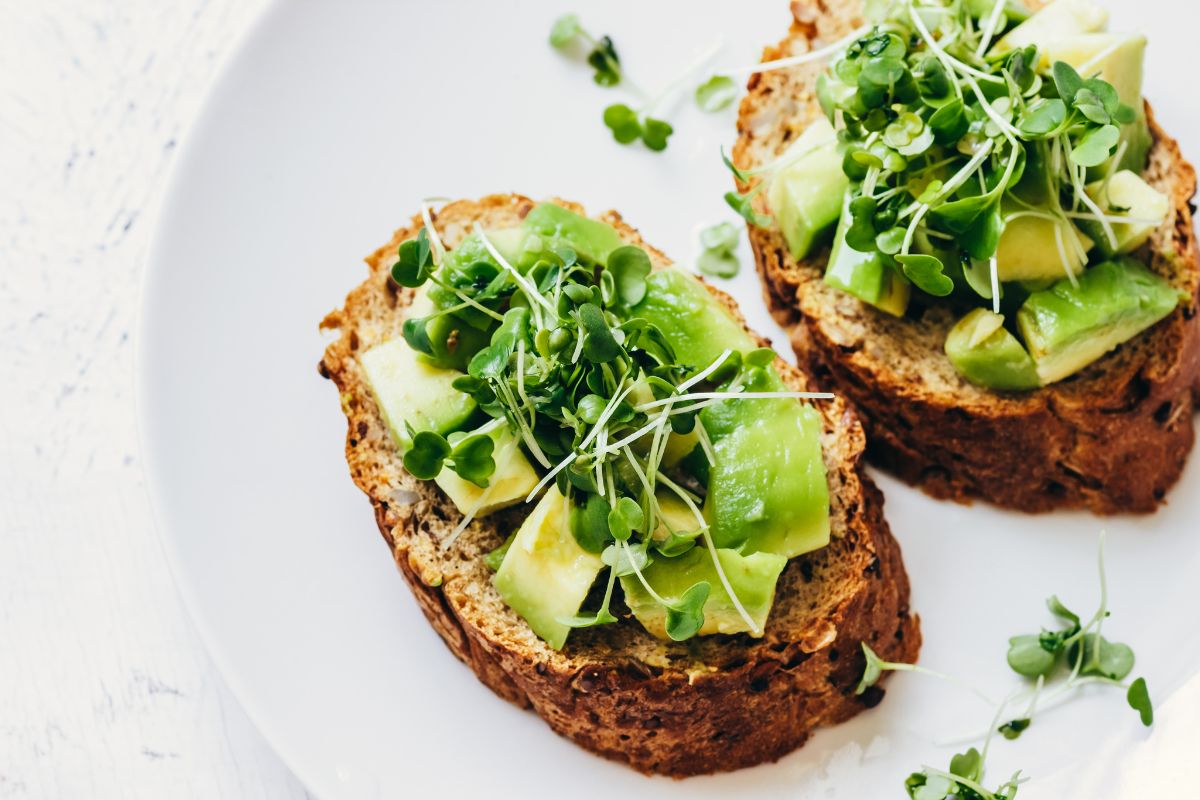
Note: This post contains affiliate links. This means if you make a purchase via links on this site, I may earn a small commission at no extra cost to you 🙂
Beyond Microgreens — Grow Ginger at Home Too!
Once you’ve got the hang of growing microgreens, growing ginger at home is a natural next step into edible plants. Ginger is surprisingly easy to grow indoors in tropical climates like Malaysia’s, and it thrives in conditions that most other plants struggle with — warm temperatures, indirect light, and high humidity.
How to Grow Ginger at Home
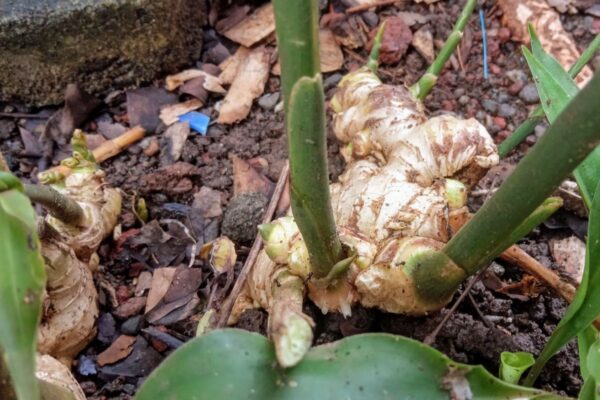
Start with a fresh piece of ginger from the grocery store, yup it’s as easy at that! Look for a piece that has a knob with visible growth buds (small greenish tips). Soak it in water overnight, then plant it just below the surface in a wide, shallow pot filled with rich, well-draining potting mix.
Place your pot in a warm spot with indirect light. Water consistently to keep the soil moist but not waterlogged, and within a few weeks you’ll see shoots appearing. Ginger grows slowly — it takes several months to reach a harvestable size — but requires almost zero maintenance in the meantime. It’s the definition of a set-it-and-forget-it edible plant.
Growing ginger at home means having fresh ginger on hand whenever you need it — no more running out mid-recipe or paying supermarket prices for a small knob. It’s one of the most practical edible plants you can grow in a kitchen-ish garden.
Can I grow ginger at home the same way as microgreens? Not quite! Ginger grows in soil over several months rather than days, and needs a deeper pot. But the care principles overlap: indirect light, consistent moisture, and warm temperatures. Both are excellent starter edible plants for beginners.
Ready to keep growing? Read next: