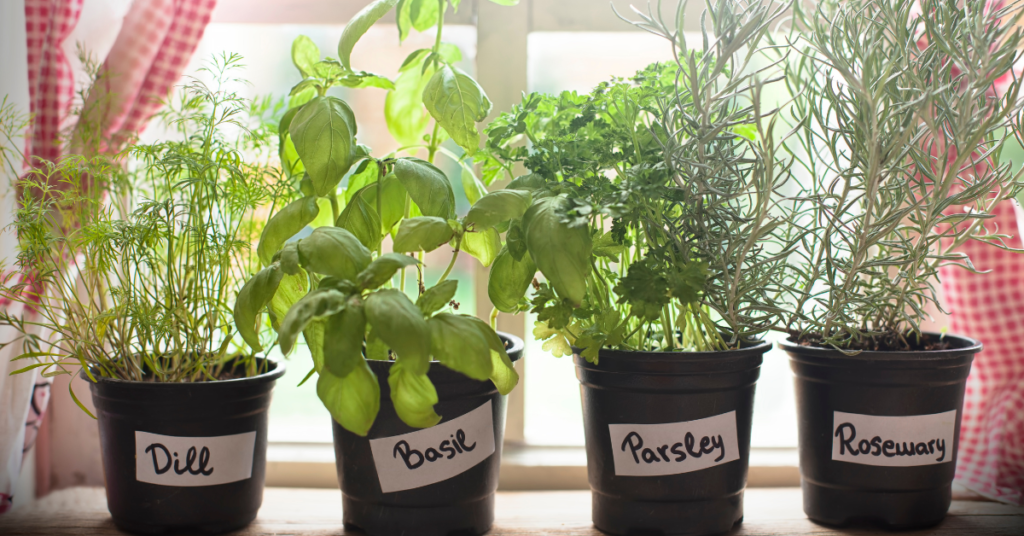
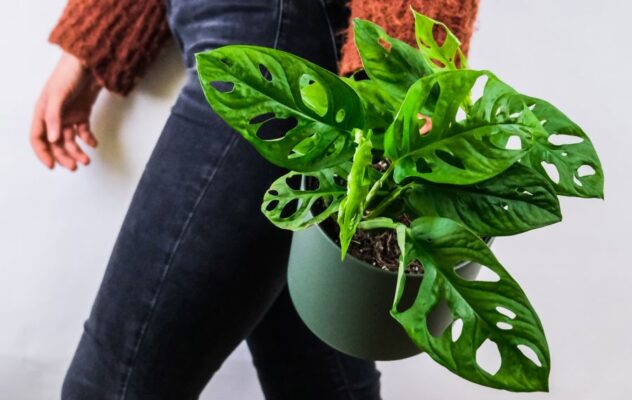
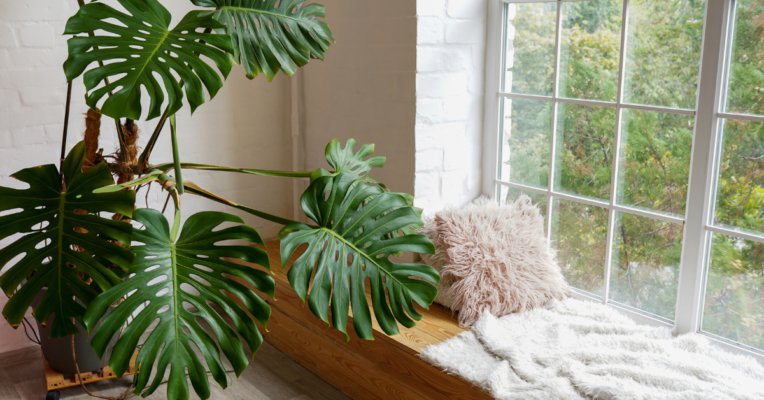
Any living space is immediately brought to live with a few indoor plants and with proper plant maintenance, they don’t just add to the aesthetics but come with plenty of benefits including filtering the air we breathe! While plant maintenance comes easy to some, we know there are plenty of droopy greens out there so this guide will give you all the must-know pointers to keep your indoor garden thriving.
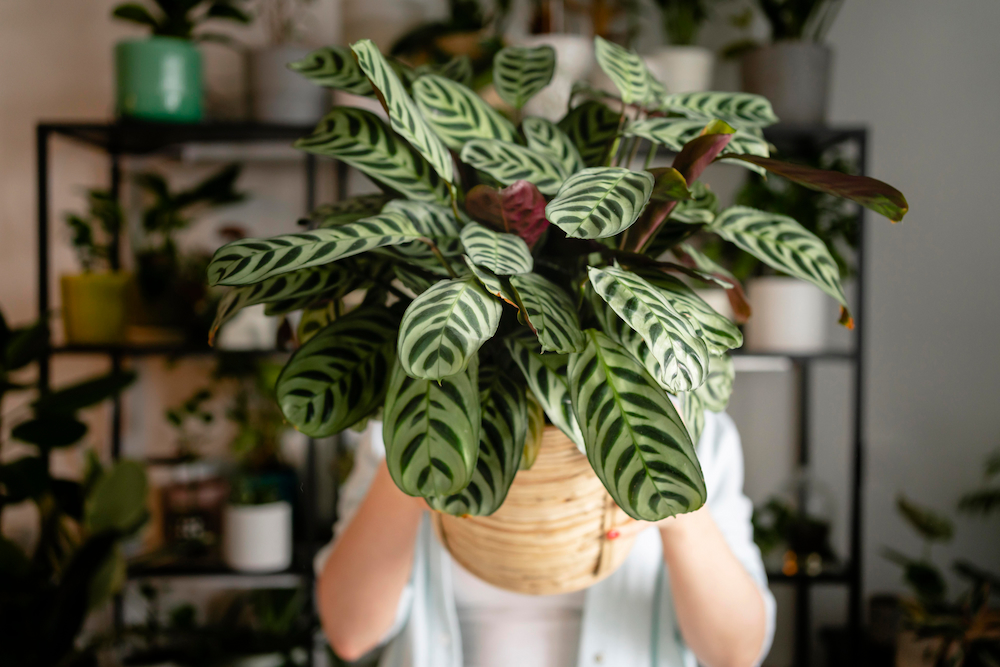
Indoor plants, including some of the most common house plants are as unique as people. Some need little care, others need extra attention. Here are six essential indoor plant maintenance tips to help you keep your plants alive, regardless of the type of plant.
1. Understand Your Plant’s Light Needs
Every plant has specific needs when it comes to light. Some plants like low light, while others do well in strong, indirect light. If you don’t have the right information about your plant, simply look at the area where you bought it from. Does it get direct sunlight or is it shaded with just enough indirect sunlight?
Helpful Tip: To ensure even growth, rotate your plant pot throughout the year. If you notice your plant growing towards a certain direction; usually towards the direction of light, it’s time to turn it around.
2. Master the Art of Watering- Key to Plant Maintenance
Water is key to indoor plant maintenance and is easily where most gardeners struggle and eventually give up – not you, though! The easiest way to kill a plant is by overwatering, so do a quick search online to see if you plant needs moist soil or needs to dry out between watering.
A watering schedule is not universal; things like your climate, weather and humidity affects your plants, making it difficult to follow someone else’s watering schedule. Here’s how to ensure you’re doing it right based on what your plants need:
Moist soil – water when the top of the soil looks or feels dry. In hot or tropical countries, this would be daily.
Dry out – water when the top 2 inches of the soil is dry. To know if it’s dry, stick your finger in the soil to feel it or use a popsicle stick. If the stick has water marks or soil sticking to it, you can still wait a day or two.
Succulents- the leaves of succulents are designed to store water. This means very infrequent watering, going as long as 1 to 3 weeks between watering. Did you know sansevieria or snake plant is a type of succulent too?
Bonus Tip: You can tell your plant has a watering issue when the leaves start to yellow or brown. Insufficient watering is indicative by yellow leaves, dry texture and sometimes leaves that fall off. Overwatering is indicative by yellow leaves, wilting plants, stunted growth and in some cases, edema (bumpy texture on and under the leaves)
To master the art of watering as part of your plant maintenance, learn from trial and error.
Disclaimer: This post contains affiliate links. This means we may receive a commission from purchases you make via the links at no additional cost to you 🙂
3. Choose the Right Soil Mix
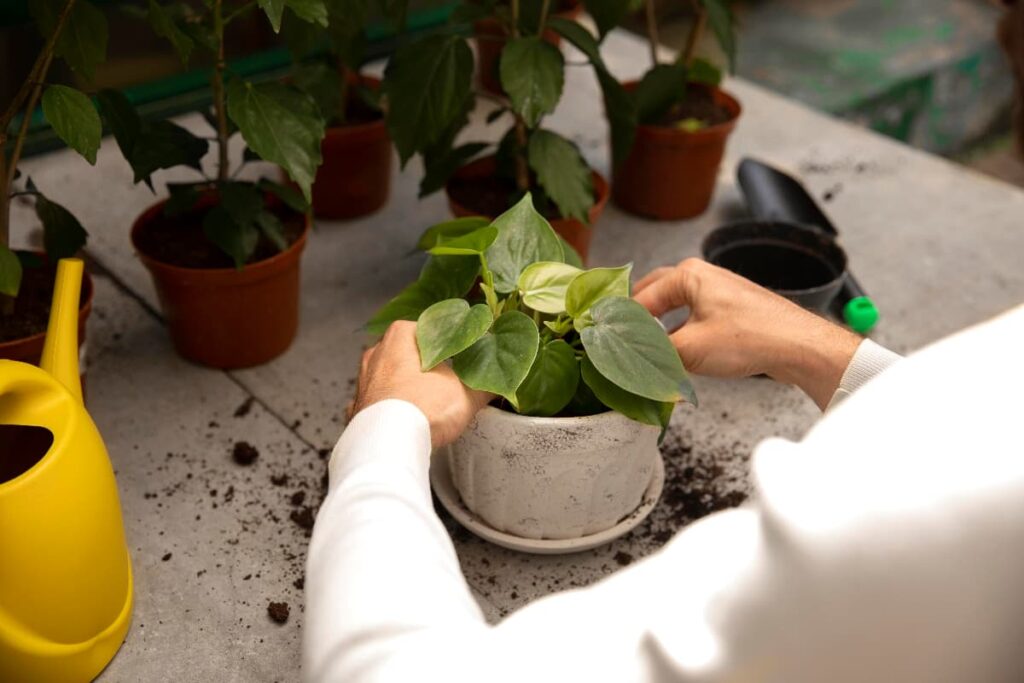
The health of some home garden growings is determined by the kind of soil you use. You would want to make sure the soil mix you choose is appropriate for the type of plant you have and relating to point #2, soil plays a bit part in ensuring how much water your plant gets. Well-draining soil allows water to flow through while compact, rich soil retains moisture.
For example, tropical plants thrive in a loamier, moisture-retaining mix, whereas succulents and cacti need a sandy, well-draining mix. If there is insufficient drainage in your soil, water can accumulate leading to root rot.
To avoid overthinking this, most common houseplants thrive in well-draining soil. You can purchase soil and 3-4 soil amendments such as cocopeat, perlite, and compost or keep things simple and purchase pre-mixed soil that contains a healthy mix of ingredients, suited for indoor plants.
4. Fertilise with Care
Just like humans, for plants to flourish, they need nutrients.
In the wild, plants get their nutrients from the earth, companion plants, and other natural occurances. At home, they’re your babies and dependent on you. To keep them thriving, include fertilising in your plant maintenance routine. You would need to fertilise during the growth season (spring and summer) or monthly, in tropical areas.
How do I pick fertiliser for indoor plants?
All fertilisers have an NPK (nitrogen, phosphorous, potassium) value, usually written in a ration for like this: 14:7:14. Without going into the details of what each element brings to the plant and in what ratios you would need, a safe option would be to pick a fertiliser that is formulated for indoor plants in general or choose to go organic with compost or manure.
Personally, I use osmocote slow release fertilizer for all indoor (and outdoor) plants just to make my plant maintenance routine simple and easy. Osmocote is a slow-release fertiliser suited for most plants and is often sufficient for up to 3-6 months, meaning less plant maintenance work for me!
Ok I’ve got my fertiliser; how do I apply it?
When it comes to application, follow the instructions given on the pack. The size of the pot determines the amount of fertilizer to use. If using liquid fertiliser, ensure you dilute according to instruction and if using granulated fertiliser, apply using a spoon or scoop, according to the ratio mentioned on the pack.
Never apply more fertiliser than is advised; this could burn your plants or damage their systems. If you’re unsure, it’s always better to under fertilise than to over fertilise. It’s also best to feed your plants before you water your them to avoid burns.
5. Keep an Eye Out for Pests
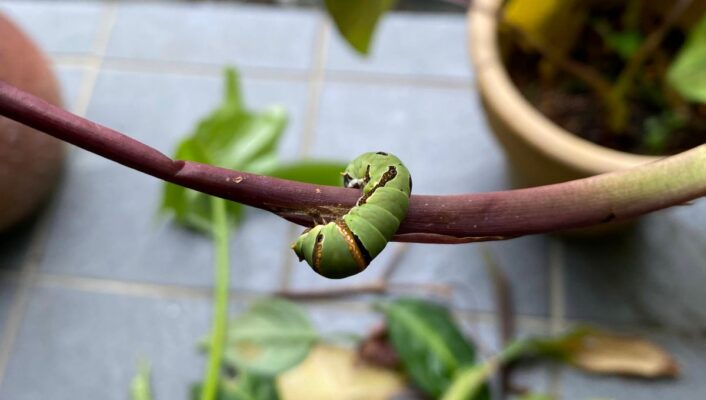
Pests are the bane of any gardener’s existence. If you thought pests only affect outdoor plants, you might be in for a little surprise! While they’re less common indoors, they’re not entirely avoidable. But with good indoor plant maintenance, they can be.
From mealy bugs and aphids to scale and thrips, even healthy plants can be affected so look out for infestation symptoms in your plants; such as discolored leaves, wrinkling, or foreign clumps or little insects.
Prevention is better than cure.
To keep your plants pest-free (it’s the dream!), give them a good shower once in a while. Whether in the kitchen sink or in a tub, try giving your plants a wash, especially if you notice dust on the leaves. This doesn’t just keep pests away, it keeps your plants clean and dust-free, allowing for better photosynthesis and growth. A happy plant is a thriving plant. No space for a shower? Use a damp cloth and wipe your leaves; don’t forget to get the underside too.
Alternatively, purchase home-friendly pesticides or DIY your own (helpful recipes here) and apply once a month or bi-weekly. The current market has many options of organic and non-organic pesticides that are fantastic for keeping pest at bay.
Uh-oh! Prevention is too late, there are pest. Now what?
If your plant has a pest infestation, the immediate step would be to isolate the afflicted plant so pests don’t migrate and infect other plants.
Next, if its convenient, spray off the pests with water, remembering to get both the top and bottom of the leave. If your pot is too heavy to move or there’s just nowhere for some spraying action, dampen a cloth and wipe every leave, branch, and water your plant adequately to flush the soil.
Alternatively, use natural solutions like castile soap or neem oil to combat the infestation quickly. Mix the solution in a spray bottle and spray your plant every 3-5 days until you see an improvement.
However, if your plant is heavily infested, then have no mercy and chop off the affected areas. Don’t worry, it’ll grow!
6. Ensure Proper Potting and Repotting
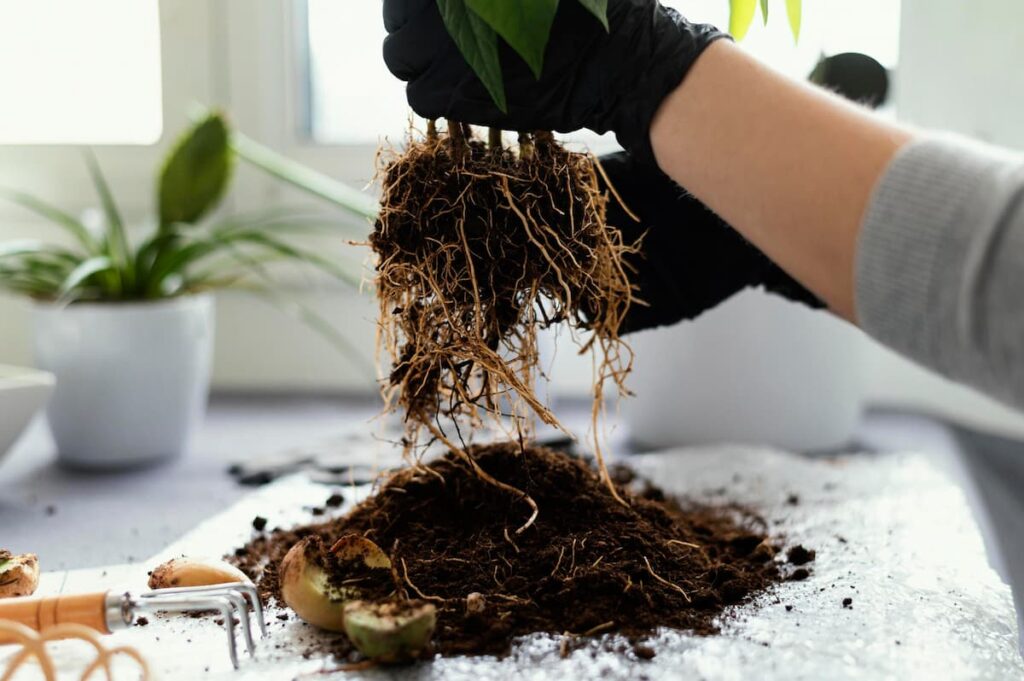
A pot to a plant is just like home is to a person. If the pot is not suited for the plant, it wouldn’t be able to house the plant for its optimum growth. So potting and later, re-potting is the final step in your indoor plant maintenance routine!
All houseplants need proper drainage. This means you should be planting them in pots that have drainage holes so they don’t get waterlogged as this leads to root rot. The only expectation would be water-loving plants such as water lilies, water lettuce, homolomena, and more (not typical house plants).
Next, size maters. If your plant is medium to large in nature, start with a size that is appropriate to the plants current size, then change the pot to a larger size as you notice the roots starting to outgrow its pot. A larger size would just be a pot that’s 2-4 inches bigger in diameter than its current one.
Placing a small plant in a big pot might seem like the more efficient thing to do, but the excess space, soil and water consumption wouldn’t be ideal for a growing plant. On the flipside, a plant that gets too big for its pot and outgrows its without a size upgrade will become root-bound and this will stunt its growth.
Unpopular opinion: Some may argue that you can skip the re-potting step because in nature, there’s no such thing as a pot. Small plants grow in free soil and don’t suffer from too much soil and too much water.
However, in nature there are more than just one plant in a single space; there are multiple plants, companion plants, trees and so much more that share soil, water, air and nutrients. When indoors, plants need controlled environments to thrive or they suffer from stunted growth, sad leaves and poor quality well-being.
Ok, getting back on track, the last point in pots are, aesthetics. If you want to use a pot that doesn’t have drainage holes, adjust accordingly! For plastic pots or containers, just cut or poke holes to allow for drainage.
If it’s ceramic or clay, simply place your plant in a smaller pot with with holes and place that (smaller) pot into your aesthetic pot. The double layer ensures you keep your aesthetics in place while ensuring proper drainage for your plant. Win-win!
To sum up pots, look for:
-
- Drainage holes
- Correct pot sizes
- Adjustments to fit your aesthetic needs
Although plant maintenance for houseplants may seem daunting and overwhelming at first, I assure you it’s just a trial-and-error process and the process is worth it. With enough information, tips, and hacks, it will become second nature and you can create a lush, flourishing indoor garden.
Plants are living things; they bring so much joy, color and fresh air into your home, it just take a little bit of care and love! So, what are you waiting for? Let’s grow!
